
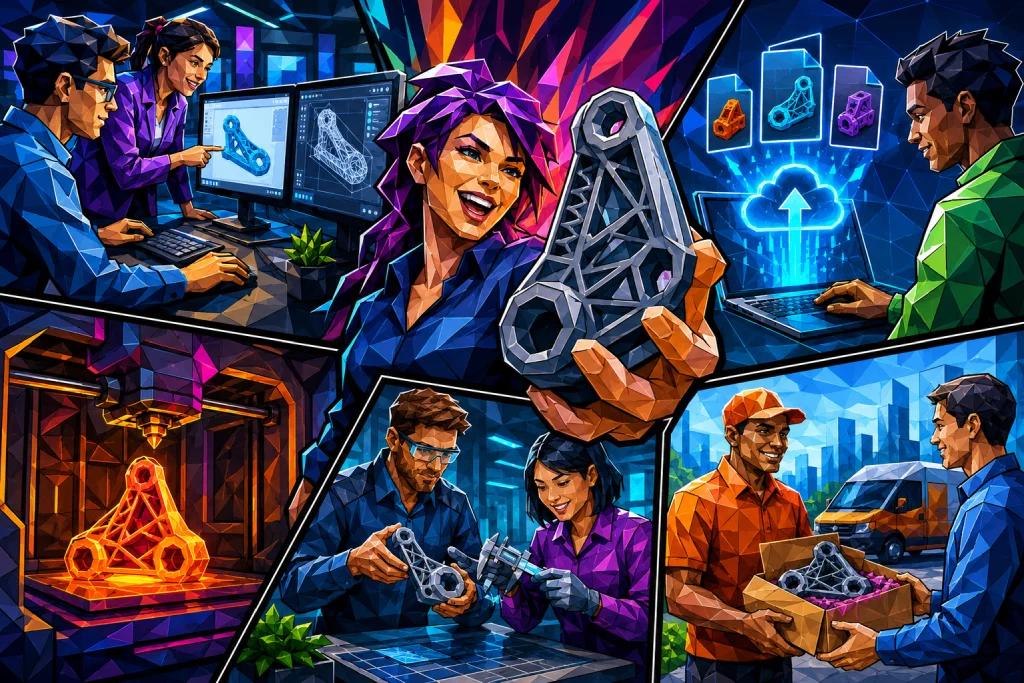
A complete guide to file formats, export, and the path through our production facility.
Many companies and engineers hesitate to order 3D print for the first time because the process from computer screen to finished product can seem opaque. Uncertainty often arises regarding file formats, quality assurance, and the fear of hidden costs.
At 3D actions, we have removed the complexity. We have created a system where you get certainty regarding price and manufacturability immediately. This guide shows you exactly how to go from an idea or a drawing to a professional part delivered from our facility.
Can I transform a 2D image into a 3D file?
You do not always need to be a CAD expert to get started. If you only have a company logo or a photo of a figure, you can utilize new technologies to create a printable foundation.
The process starts with preparation. You must remove the background from your image so the motif stands completely clean. Tools like Canva are effective for this. The image resolution is crucial for the result. You should aim for a minimum of 900 x 900 pixels, as lower resolution makes it difficult for the software to read the details.
Afterward, you can use AI-based tools like Meshy to generate a 3D model from your 2D image. This often takes only a few minutes. However, be aware of gravity. These tools often forget that physical objects must be able to stand on their own. You must therefore check if the figure needs support before you export it.
Can I copy a physical spare part without a 3D scanner?
The industry often lacks drawings for old machine parts. If you have a physical spare part but no digital file, you can recreate it with a simple method that only requires a camera and a caliper.
Place the part on a flat surface. Lay a caliper next to it and set it to a fixed measurement, for example, 40 mm. This serves as your fixed reference. When you take the photo, you should step back a few steps and zoom in with the camera. If you get too close with a wide-angle lens, distortion occurs, making your measurements useless. The lines in the image must be parallel.
Import the image into your design software (e.g., SketchUp). Here, you draw a line on top of your caliper in the image and tell the software that this line corresponds to 40 mm. Now the entire image has the correct scale. You can then draw on top of the image and use functions like “push/pull” to give the part the correct thickness, for example, 3 mm, based on your manual measurements.
How do I export my file for 3D print?
Once your design is finished, you must export it in a format that a 3D printer understands. The two most commonly used formats in the industry are STEP and STL.
STEP files are preferred for precise, technical parts as they maintain mathematical geometry. STL (StereoLithography) is the standard for visual models and prototypes. An STL file translates your design into thousands of small triangles. For a complex model, such as an architectural castle, an STL file can be surprisingly small, often down to 1.6 megabytes.
If your project contains colors or textures, you should consider the OBJ format, as STL only saves the geometry.
A good piece of advice before sending the file: always open it locally on your computer first. Mac users can use the “Preview” function, and Windows users can use “3D Viewer.” If the file looks empty or incorrect here, it will also fail in production.
| File format | Advantages | Disadvantages |
| STEP | Highest precision, best for CNC and industry. | Can be heavy to work with in certain programs. |
| STL | Universal standard, small file sizes. | Resolution is fixed (can become pixelated/faceted). |
| OBJ | Supports colors and texture. | Rarely used for pure technical parts. |
How do I upload the file to the platform?
Our platform is built to handle your files securely and efficiently. You simply drag and drop your file into the calculator on our website. We treat all uploads confidentially, which is a matter of course for our B2B customers.
Be aware of scaling. Design programs sometimes export in meters, while a 3D printer reads millimeters. If the price looks unnaturally high or low, or if your model looks like a tiny dot on the screen, check the scale. You can often adjust this directly in the calculator or scale the factor by 1000 or 0.001. Use the visual preview to confirm that the part fills the build plate as expected.
[Try our 3D print price calculator]
How do I choose the right material and settings?
The choice of material depends on the part’s function. In our calculator, you can see the price change in real time as you switch materials.
An effective strategy is to start with a test print (“fitment test”). Choose an affordable standard material like PLA to check if the dimensions fit and if bolt holes are correctly placed. Once the design is approved, you take the action of ordering the final part in a stronger, heat-resistant material such as Nylon (PA12) if the part is to be located near a motor or in a production environment.
Also, think about the design’s weak points. If you know an original spare part broke in a specific spot, you should increase the wall thickness in that exact area in your digital file.
Many ask about 3D print in multiple colors. While technically possible, multicolor printing is often a waste of material as the machine must purge the nozzle at every color change. For professional prototypes or models, we often recommend printing in one color and subsequently painting the part or printing it in sections that are then assembled. This provides a nicer result and is far more economical.
What happens after I have ordered my 3D print?
When you press order, our technicians and algorithms take over. We start a process called “slicing.” Here, the software cuts your 3D model into thin, horizontal layers that the machine builds on top of each other.
Our technicians analyze the orientation of your part. A 3D print is strongest along the layers and weakest where the layers bind together (layer adhesion). If your part needs to withstand tension or pressure, we might rotate it so it lies down rather than standing up. This ensures maximum strength.
We also generate “support structures.” A 3D printer cannot print in thin air. If your design has overhangs—think of a roof without walls—the software builds a temporary scaffold underneath it. The slicing software also calculates the precise time consumption. Complexity costs time. The same part can take 2 hours and 38 minutes or 7 hours and 13 minutes depending on how finely we print the layers and how much support is required.
To ensure the part does not move during production, the machine often prints a “raft” or “brim.” This is a base at the bottom that ensures good adhesion to the build plate.
How do you ensure quality before delivery?
Quality assurance is a manual process at our facility. Once the 3D print itself is finished, we remove it from the machine and carefully break off the support structures and the base (raft).
We inspect the part for printing errors and check that the dimensions hold. Only when the part is approved do we pack and ship it. You receive an invoice in INR, and we guarantee that there will be no unexpected fees added.
FAQ: Ordering 3D print
Here you will find answers to the most common questions regarding the process from digital file to finished part. We cover everything from file formats and material choice to prices and delivery, so you feel completely secure in your order.
Which file format should I use for 3D print?
We recommend STEP files for technical parts and STL files for visual models. STEP preserves geometry best for industrial use, while STL is the standard for prototypes. Always remember to check your file locally on your computer before uploading it to our platform to avoid production errors.
Can I get a 3D print without a 3D file?
Yes, you can transform 2D images into 3D models via AI tools or measure physical parts manually. The article describes how to use photos and a caliper to create a file. However, you must always have a digital file ready before you can order the 3D print itself from us.
What does it cost to have a part 3D printed?
The price depends on the part’s volume, material choice, and complexity. You get the most accurate price by uploading your file to our calculator, which gives you a quote in INR immediately. The price always includes a manual file check and professional handling by our technicians.
Which material is best for 3D print?
It depends on whether you need a visual prototype or a functional part. Start with PLA for fitment checks, and choose stronger materials like Nylon PA12 for end products. Our calculator helps you choose the right material for your specific task.
How long does it take to 3D print?
The 3D print time itself varies from a few hours to over a day depending on size and layer height. When you order, our software calculates exactly how long production will take. We typically initiate orders quickly so you receive your parts within a few business days.
Can you 3D print in multiple colors?
It is technically possible, but we often recommend printing in one color and then painting the part. Multicolor 3D print generates a lot of waste material and increases the price significantly. For professional solutions, post-processing or assembling colored parts is often the most economical and aesthetic solution.
Get started with your project today
It doesn’t have to be difficult to order professional 3D print. Whether you come with a finished STEP file, a scanned STL, or a model based on manual measurements, our system is ready to handle it.
We recommend that you upload your file to our price calculator as the first step. It is free, non-binding, and gives you an immediate overview of the economics of your project.